Your cart is currently empty!
Papel Picado Templates
Migration to Gumroad
Update Feb. 20, 2025
Why the move?
I have had malicious activity on my store lately. I am working on moving all my products to the Gumroad platform to help keep you safe!
Since it’s been a slow process with all the great coloring pages I have to offer, you may find things missing on my main website SuzyLeeLo.com.
Is this page/book moved yet?
Below you may find a coloring page that has already moved to Gumroad.
Look for the Gumroad “Add To Cart” button below.
If it is missing the Gumroad button, send me a message with this link (Copy URL from browser) to the coloring page and I will move it right away for you. Plus give you a coupon to discount the coloring page. 🙂
What’s already on Gumroad?
Click here to see a list of products already available on Gumroad
Or go to my Gumroad page to see directly.
Description
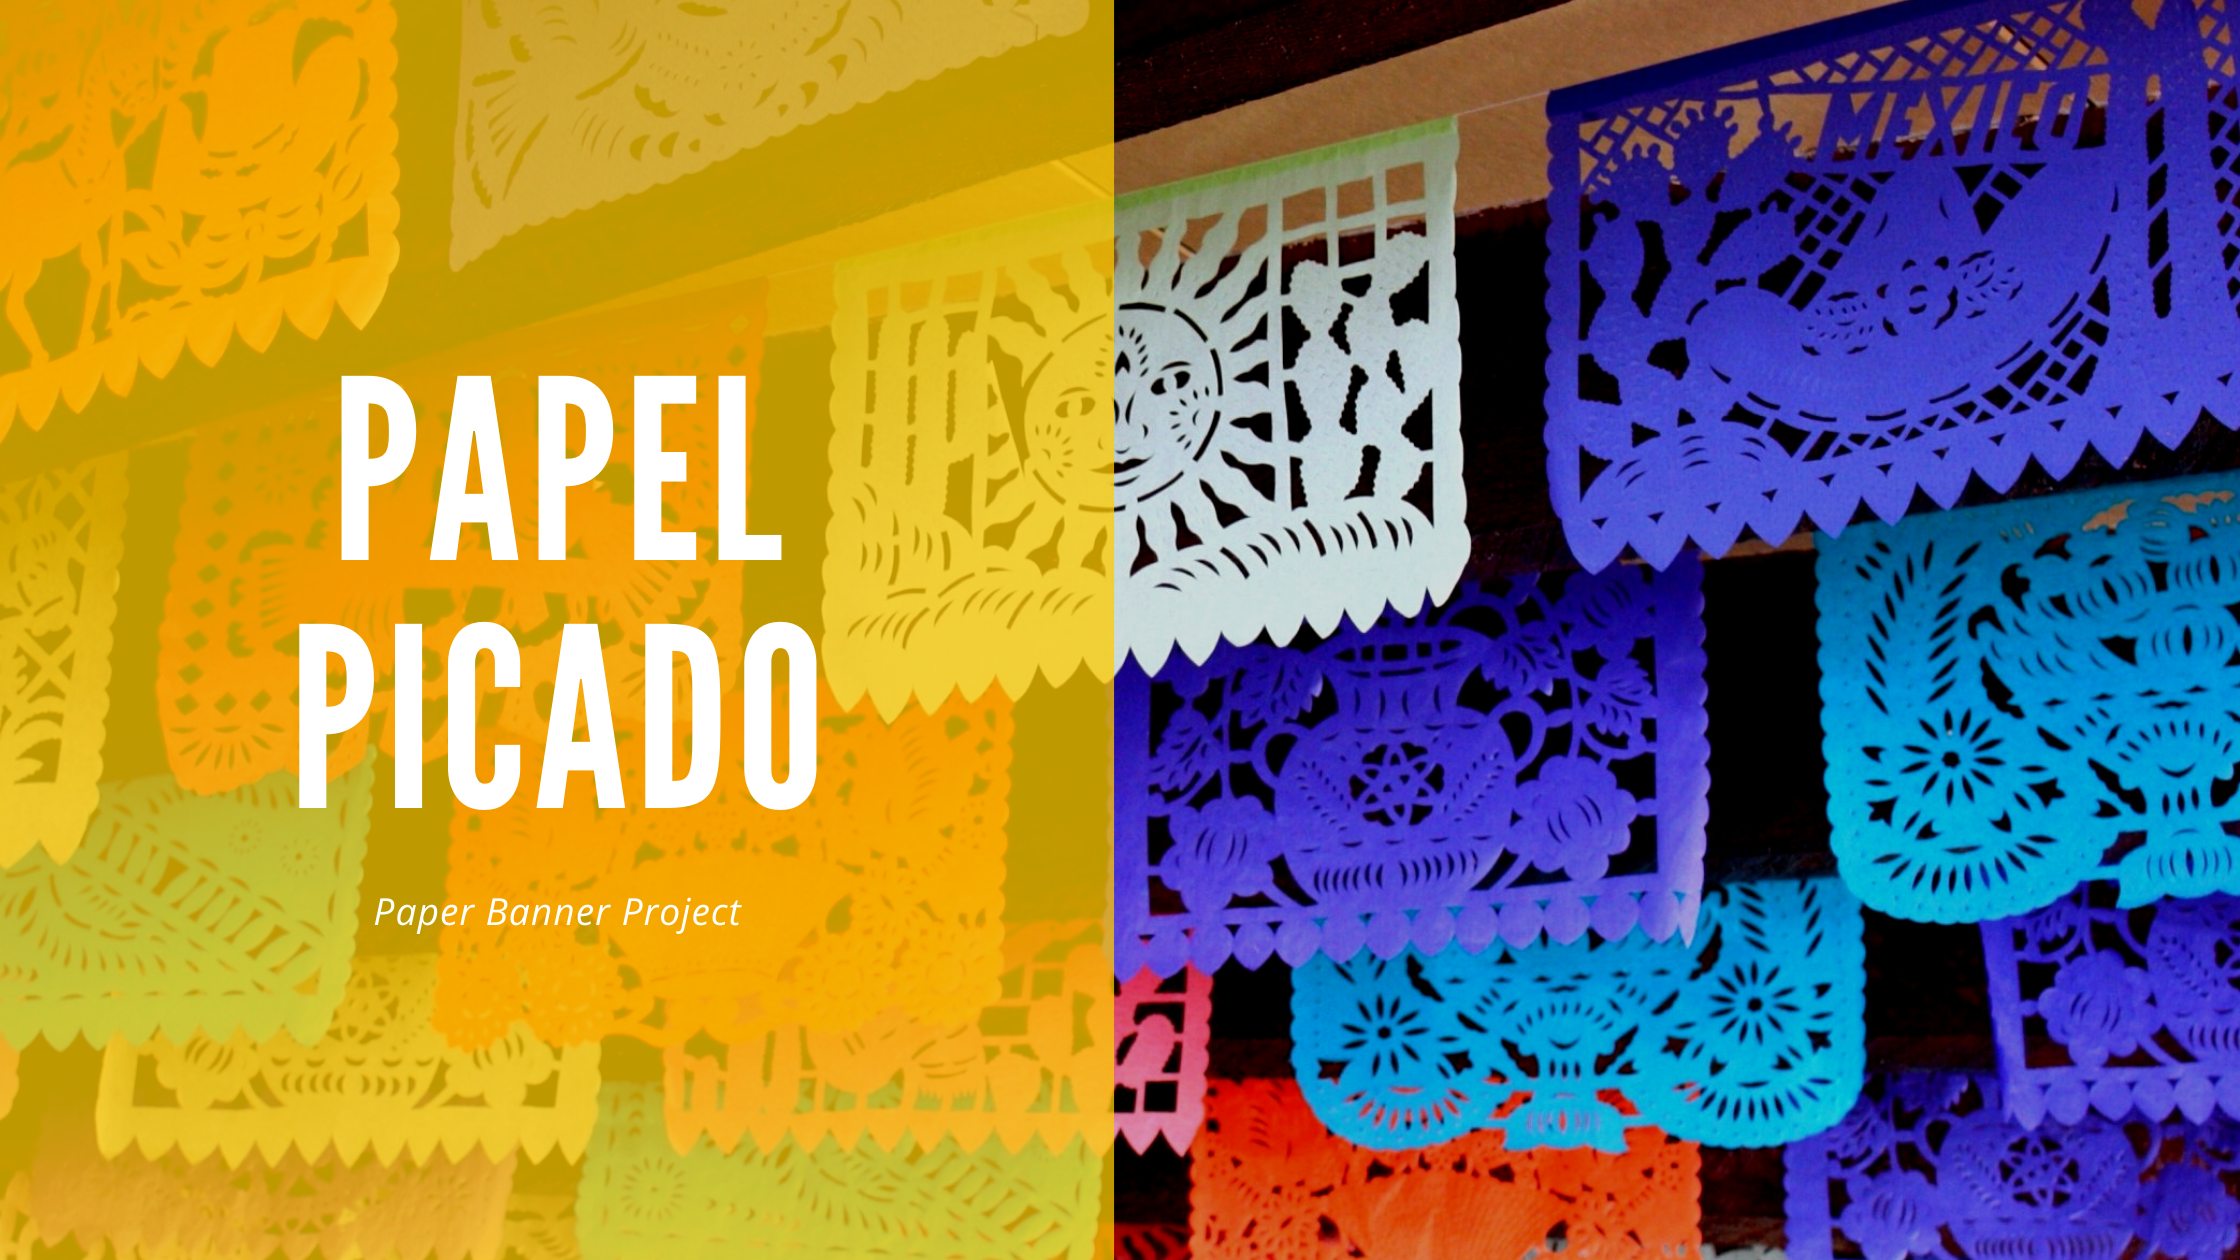
Artists traditionally use a hammer and chisel to punch designs into stacks of layered tissue paper, but these designs can be cut out with scissors and a craft knife. Make them using vibrant colors to string across rooms and hallways or to decorate an outdoor area.
Materials
I am a participant in the Blick Art Materials Affiliate Team designed to provide a means to earn fees by linking to DickBlick.com.
- Tissue paper in different colors, such as orange, yellow, hot pink, turquoise, purple, green
- Cord, twine, or ribbon
- Scissors or craft knife
- Double-sided tape, white glue, or hot glue gun
How to Make Your Paper Banners
- Trace the templates here and trim around the outside edges.
- Cut about 8-10 pieces of tissue paper in a variety of colors to a size slightly larger than the templates, and stack them up.
- Place the stack on top of one of the templates with the design facing down. Fold the whole stack in half so that you can see the design.
- Cut out the shapes of the template with scissors or a craft knife, including the outside edge. Do this carefully to avoid tearing the delicate tissue paper. Repeat with the second template.
- Separate the layers of tissue and lay them flat, alternating the designs. Make up lengths of your choice using cord, twine, or ribbon. Roll the top edge of the tissue flags around the cord, and attach with small pieces of double-sided tape or dabs of glue. If using glue, be careful because too much will make the tissue paper more fragile when wet.
- Repeat Step 2 as many times as required to create the number of flags you need.
