Your cart is currently empty!
Skeleton Template
Migration to Gumroad
Update Feb. 20, 2025
Why the move?
I have had malicious activity on my store lately. I am working on moving all my products to the Gumroad platform to help keep you safe!
Since it’s been a slow process with all the great coloring pages I have to offer, you may find things missing on my main website SuzyLeeLo.com.
Is this page/book moved yet?
Below you may find a coloring page that has already moved to Gumroad.
Look for the Gumroad “Add To Cart” button below.
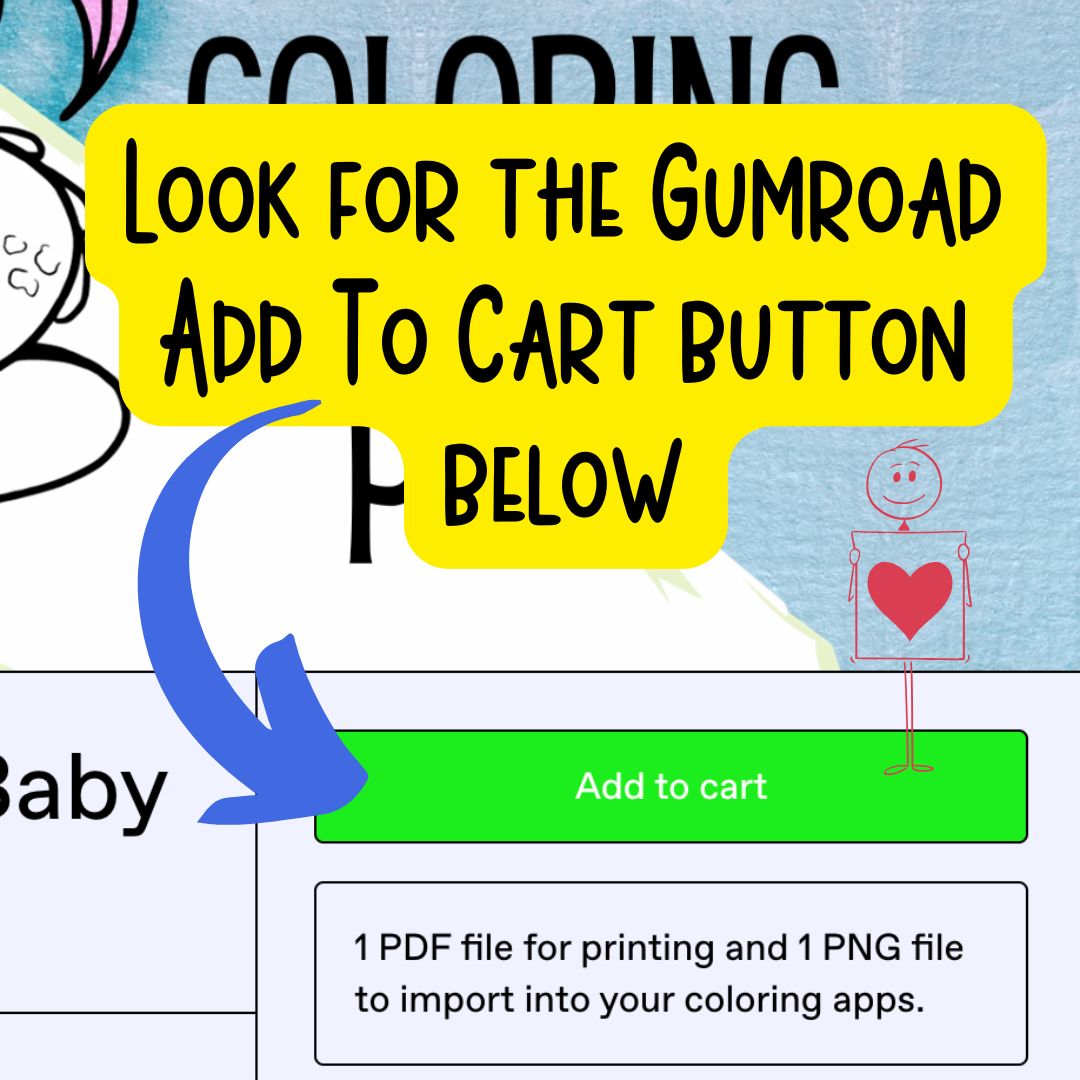
If it is missing the Gumroad button, send me a message with this link (Copy URL from browser) to the coloring page and I will move it right away for you. Plus give you a coupon to discount the coloring page. 🙂
What’s already on Gumroad?
Click here to see a list of products already available on Gumroad
Or go to my Gumroad page to see directly.
Description
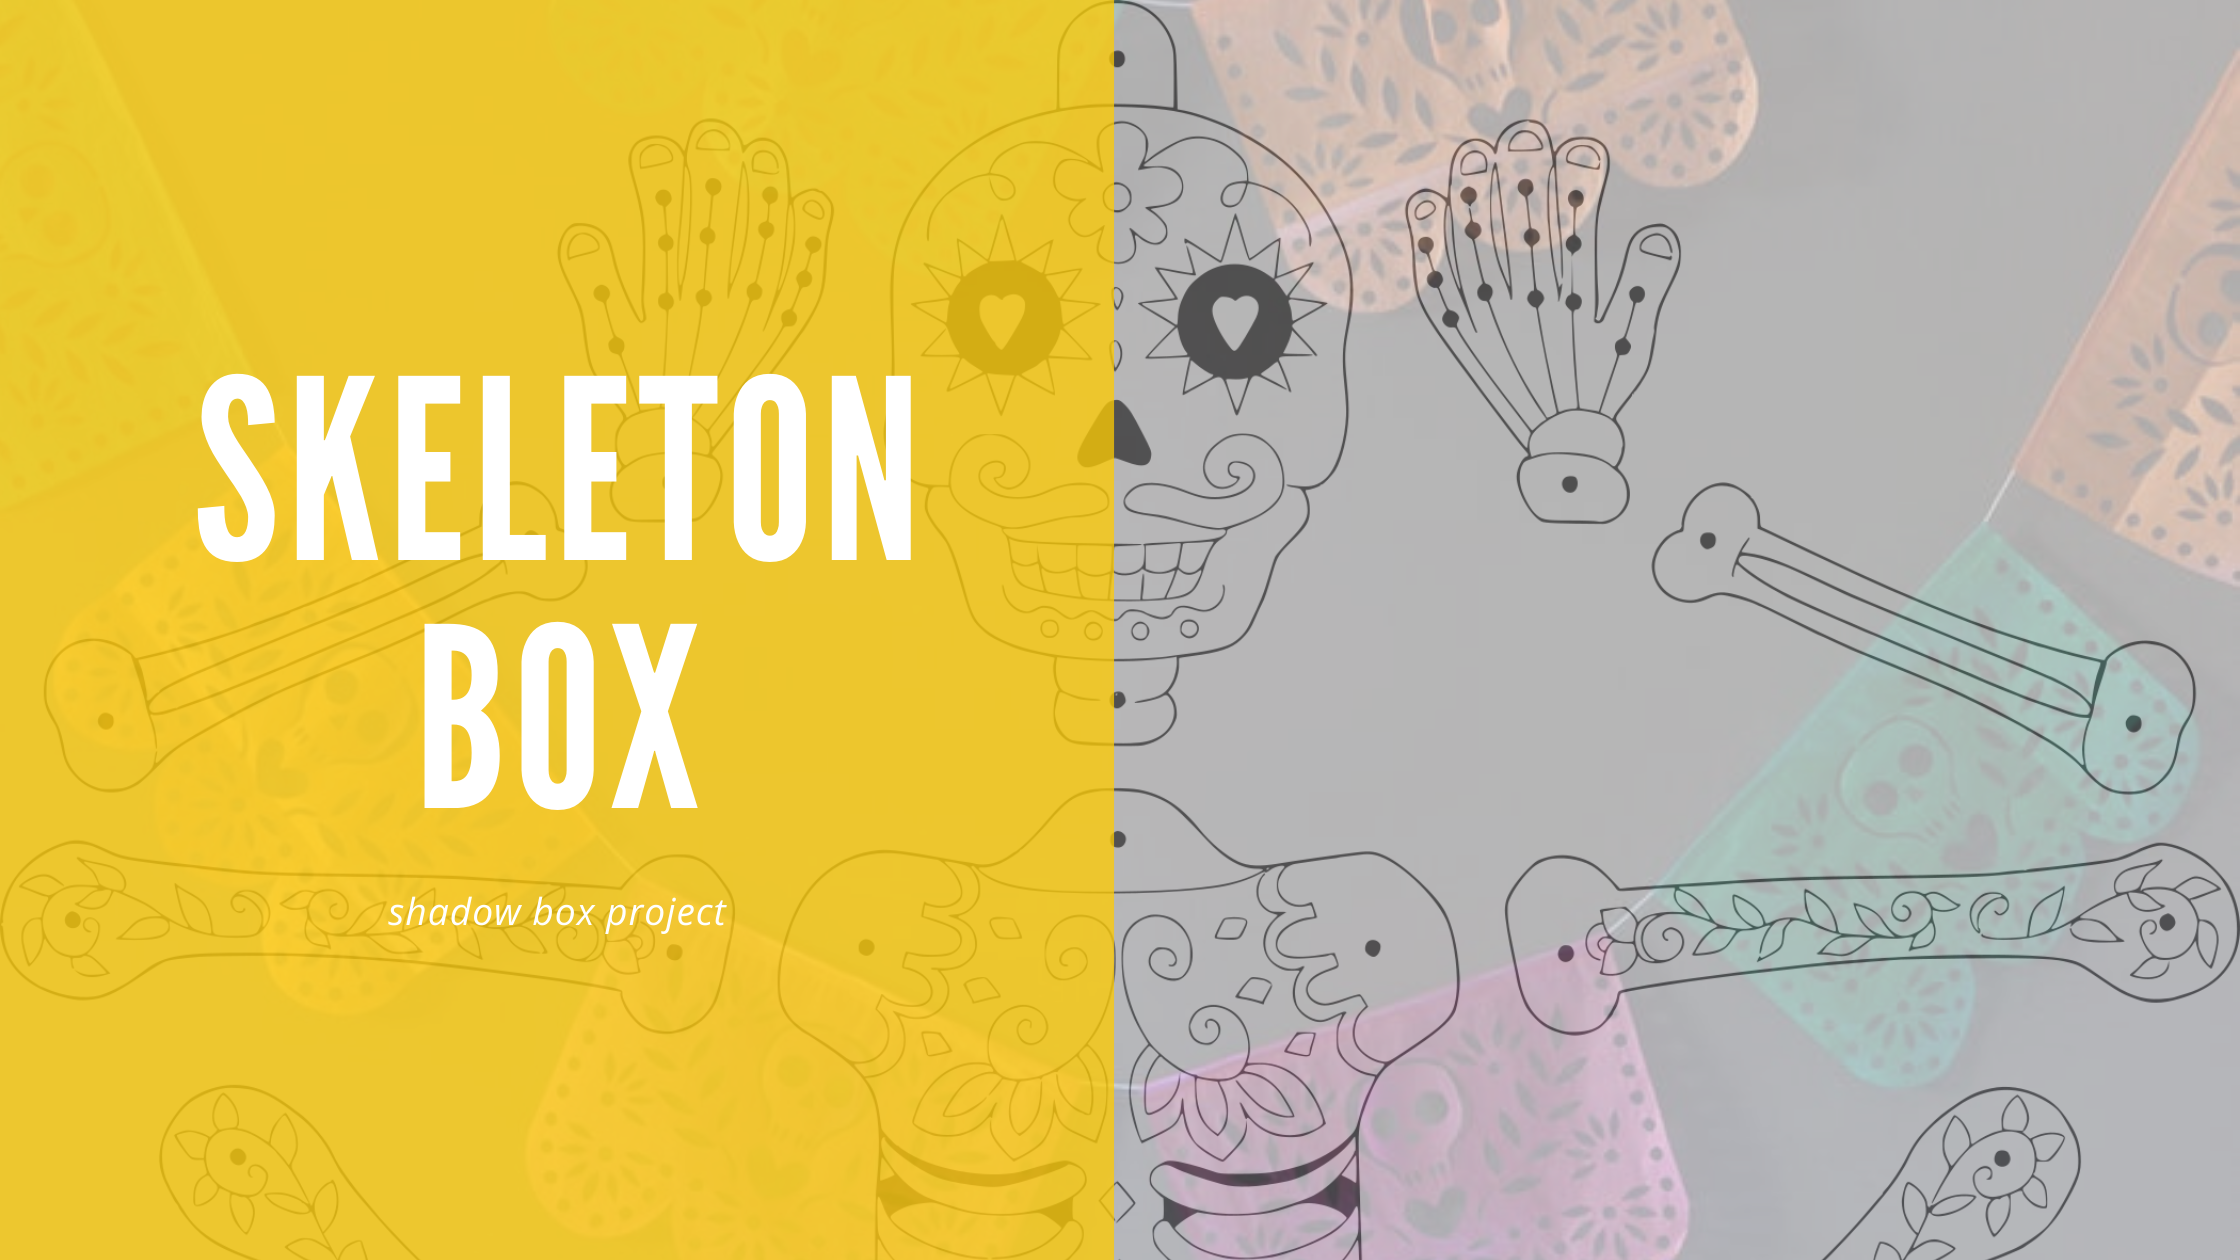
Recycle a small box or fruit crate to display this charming dancing skeleton. The box can take a prominent position on your altar, or use it as the centerpiece of your table for a celebration with family and friends.
Materials
I am a participant in the Blick Art Materials Affiliate Team designed to provide a means to earn fees by linking to DickBlick.com.
- Box, at least 7 x 19 in. (18 x 27 cm)
- Acrylic paint in yellow, white
- Cardstock in white, red, green
- Crepe paper in green, white, red, yellow
- Coloring markers or colored pencils
- Small scissors or craft knife
- Paper piercer or large needle
- Small paper fasteners or brads
- Paintbrush
- Measuring tape
- Double-sided tape or glue
- Eye pin, 1 in. (26 mm) (how to make one)
- Pinking shears
- Black marker
- Jump ring, 1/5 in. (4 mm) diameter (optional) (how to make your own)
- Flat-nose pliers (optional)
How to Make Your Skeleton Box
- Print out the skeleton template onto white cardstock. Add color to the details, as preferred. Cut out the pieces with small scissors or a craft knife.
- Pierce the dots at the joint points, including the top of the skull, with a paper piercer or large needle. Construct the skeleton, linking the joints with paper fasteners.
- Paint the back of the box yellow. Leave to dry.
- Paint the outer and inner sides of the box white, and leave to dry.
- Measure the four inner sides of the box frame and cut pieces of red cardstock. Fix in place with double-sided tape or glue.
- Repeat for the four outer sides of the box with green cardstock.
- Make a hole in the top of the box about 1/4 in. (1 cm) from the front edge with the paper piercer. Feed through the eye pin, and fold the excess on top.
- To create the roof fringe, trim lengths of the crepe papers to the width of the box and about 1 in. (2.5 cm) deep. Trim one of the long sides with pinking shears and make parallel snips along this side with scissors to create a short fringe. Glue the first strip to the front of the roof so that the fringe overhangs the front edge. Then, glue the next one to overlap the first, and continue with other strips to cover the top of the box.
- If the box has quite a deep rim, decorate this edge with a black marker with stripes.
- Open the jump ring and feed it through the hole in the tab on top of the skull and through the eye pin and close, either with flat-nose pliers or just using your fingers. If you don’t want to use an eye ring and jump ring, you can use thin yarn or string instead.
